ASPARAGUS – year 2 March 1, 2014
Posted by rik94566 in agponics.com, aquaponic automation, aquaponics, asparagus, Crop, DIY aquaponics, IoT aquaponics.Tags: aquaponic automation, aquaponic crop, DIY aquaponics, indoor aquaponics, microcontroller, rik kretzinger, sensor
add a comment
Well I am into year 2 with my asparagus. The weather in Northern California has been short on rain and very warm. So no surprise that my asparagus is about 2 months ahead of normal. I was thinking that it would be about a month earl as I can control almost all the environmental factors that impact the growth cycle. Just so happy to see that it survived the winter and growing well. You judge for yourself!


Asparagus – new crop for this year February 23, 2013
Posted by rik94566 in agponics.com, aquaponics, asparagus, DIY aquaponics, Yield Results.Tags: aqauponic asparagus, aquaponic automation, asparagus aquaponics, DIY aquaponics, rik kretzinger
4 comments
I wanted to try a new crop this year. So I did some research for my area and picked a crop that I had some interest in for quite some time, but had no idea how to grow it. Then to try and grow it using aquaponic method is really out there as a concept. Doing a internet search there is very little to no information on the subject of growing asparagus in an aquaponics system.
So here we go with my first attempt at growing Asparagus in my 100 gallon unit.
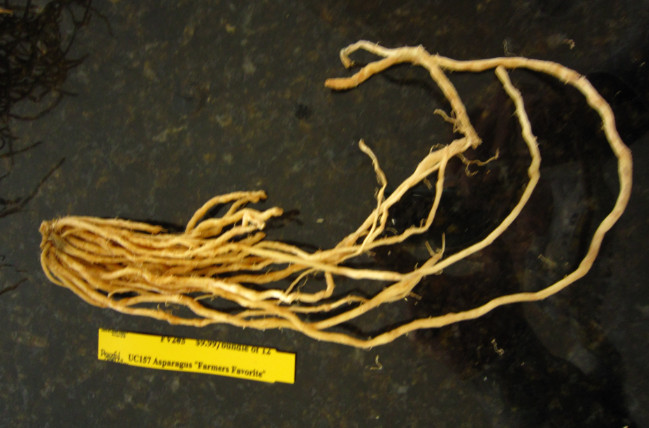
Asparagus Start
I placed an order for my starts in early October so I was assured of getting my plant material by Mid-January. I had no idea of what the weather would be like in Mid-January, but I took my changes on getting the starts. There was a chance that if I ordered to close to the actual shipping time from the company I would not get the plant starts I needed to launch this new growing adventure, as the company does run out of asparagus early in the season.
The next big issue was how should I plant them in my grow beds. I learned that asparagus is planted 12 to 15 inches below ground in late January to early spring, so my timing was good but needed to empty my aquatubes to be enough depth for the starts. Once the grow tubes were empty I covered the bottom of the grow bed with enough gravel to make sure the starts would not be sitting in standing water when the grow beds drain after each watering cycle. This is because to fully drain out of my grow beds there is always some water that sits at the bottom of the grow beds and will drain out over longer period of time.

Placement on gravel

Spaced out in growbed
Once I had all my starts place in the grow beds I covered them in gravel up to the crowns. Then I put a very thin layer of gravel over the crowns.

Gravel up to crowns
In my research I found that when planting asparagus – you place the starts and cover them lightly and once they start and throw shoots you cover them a little bit, just enough to support the sprouts until they reach ground level or in my case the top of my gravel beds.
Next was to give them some water so I could bring the starts out of dormancy. I did not want to over water them and cause disease problems so I watered them once ever other day. Temperatures had been down in the low 30’s with day time temps only getting up high 40’s.
After one week I had my first shoots.
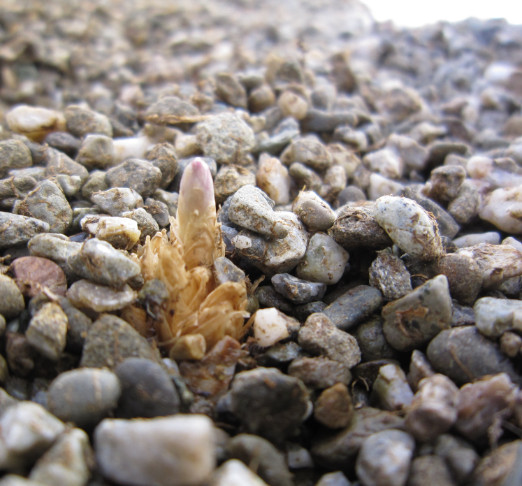
First Shoot
